How to Make an Origami Butterfly for Beginners
The cutest origami butterfly craft that you can use as a corner bookmark or wall decoration or as part of a mobile hanging. Read the step-by-step folding instructions or watch the video tutorial to learn how to make origami butterfly from a single sheet of paper.

If you have been following our blog for a while now, you probably already know that we love to share paper crafts and origami crafts every week. So, this week, we are here with another fun and easy origami craft, an origami butterfly. The best thing about this craft is that it's also an origami butterfly bookmark. That is why it is going to be quite a useful and perfect origami project for kids. Plus, we tried to make this origami craft a little more beautiful by drawing patterns on it. And guess what, it turned out spectacular.
Origami crafts are fun and great for mini craft therapy sessions as well. We've tried to break down the instructions into easy-to-follow steps so that you can learn how to make origami butterflies from a single sheet of paper, in just a few minutes.
If you already have colored craft papers and highlighter at home then the cost for this craft would be zero. In case you don't have the supplies at home, you can find 200 sheets of 6 inches square origami craft paper for $6.50 and a set of 8 sharpies for $7. But of course, the cost would be less than $1 as you'll have most of the supplies left even after crafting a bunch of origami butterflies.
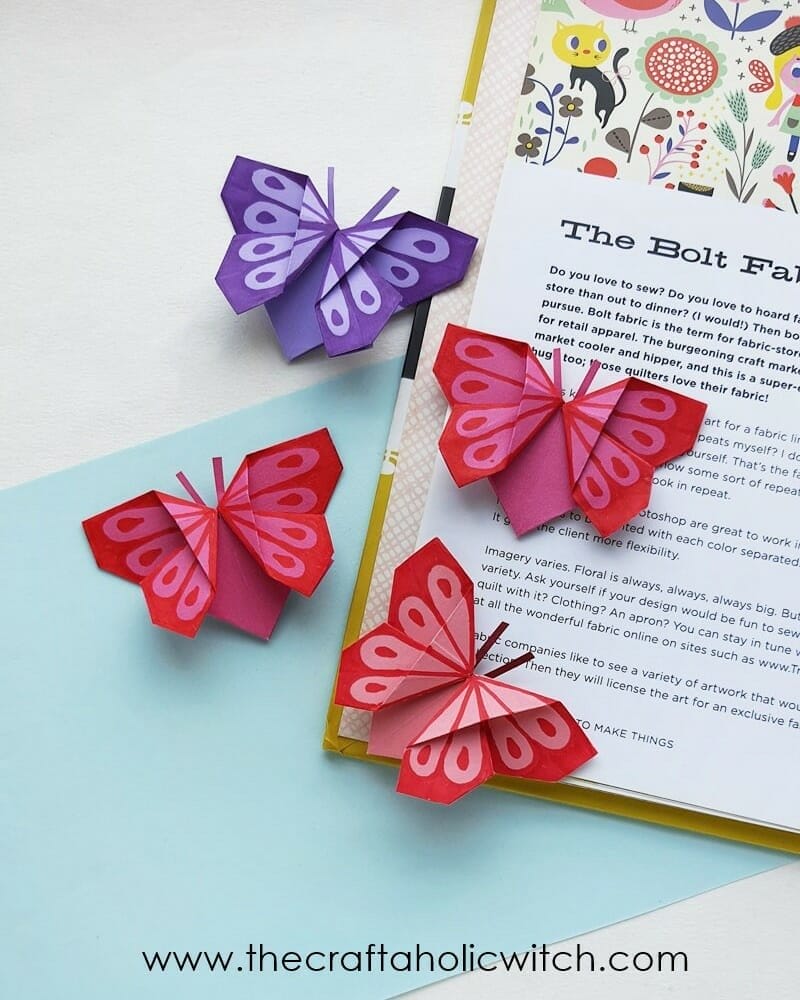
How to Make Origami Butterfly
Things You'll Need
Materials
- Colored craft paper (If you don't have craft papers at home, you can consider these origami papers from Amazon (my affiliate link)).
- Sharpie or highlighter
Tools (Optional)
- Scissors
- Ruler
- Pencil
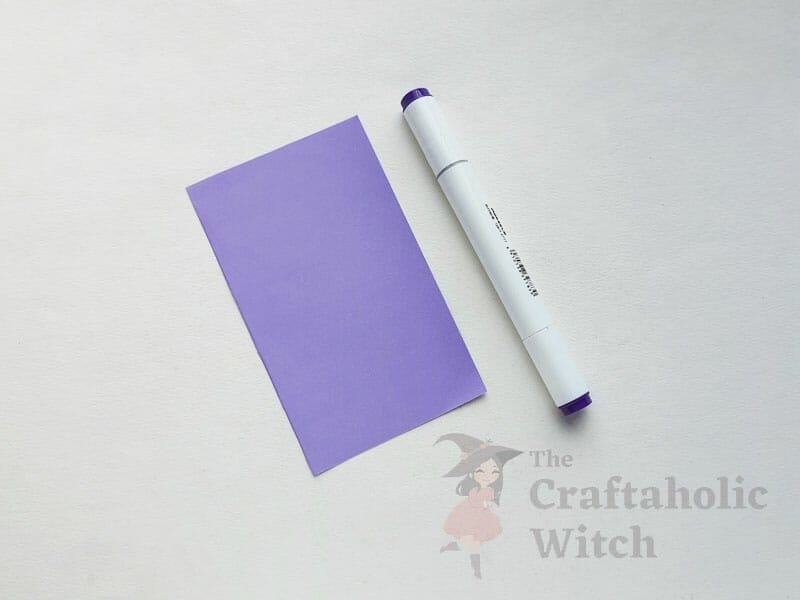
Origami Butterfly: Step-by-Step Folding Instructions
Step 1: 1st Crease
Take the rectangle paper and fold it in half horizontally (folding the width in half) and then unfold. This will create a crease along the folding line.
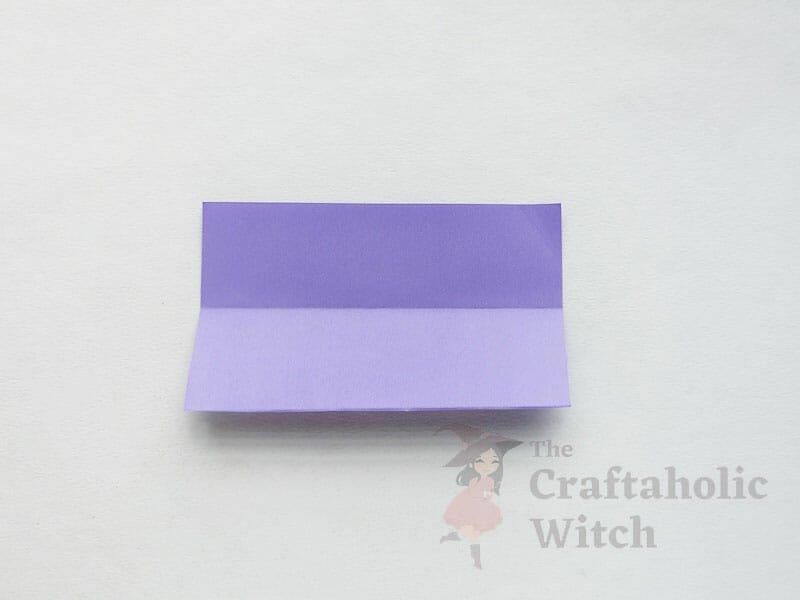
Step 2: 1st Fold
Now, fold the paper in half again but vertically (folding the length in half).
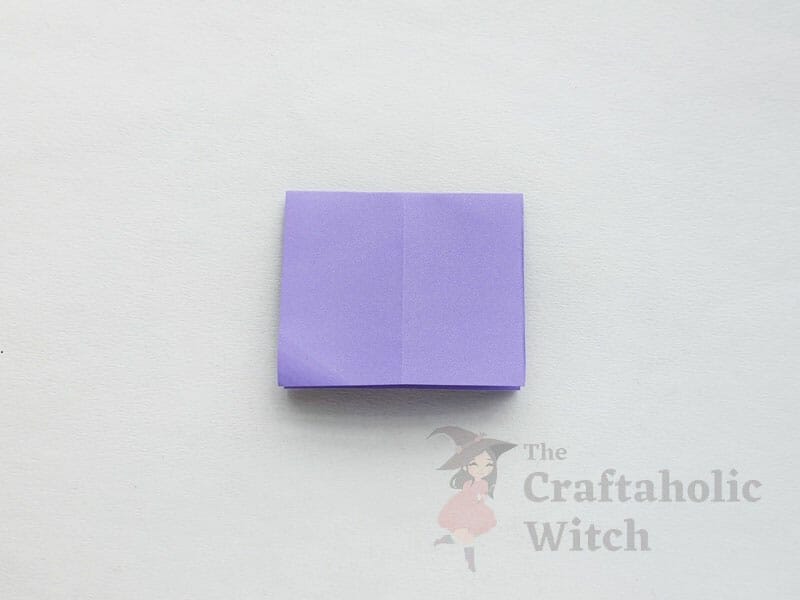
Step 3: Corner Folding
Fold both closed corners inside and align them with the middle line of the current pattern.
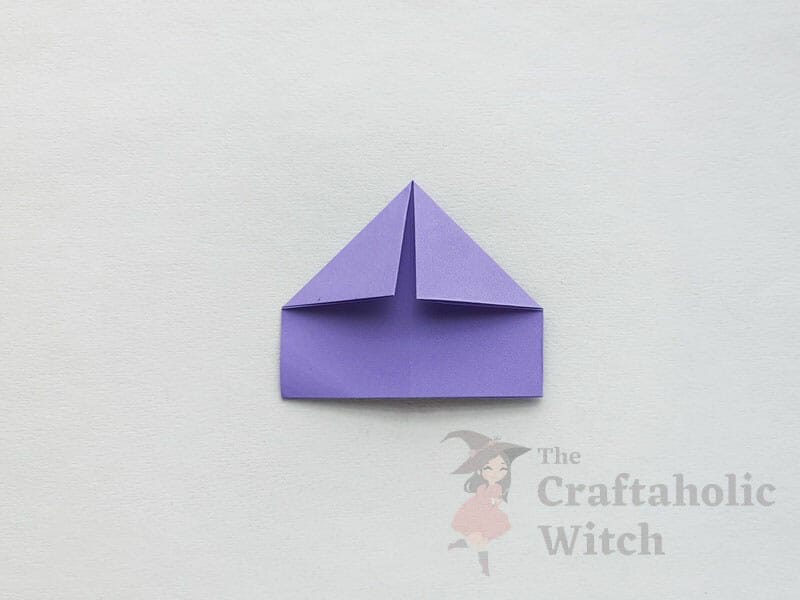
Step 4: Folding Corners Inwards
Unfold the corner folds and fold them inside as shown in the picture of this step.
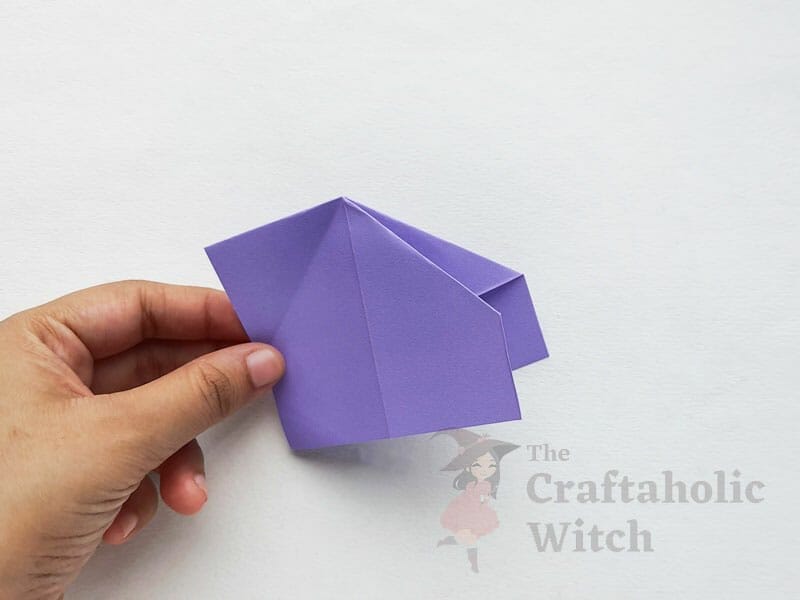
Step 5: Flatten the Pattern
Similarly, fold the other (left) corner inside and then flatten the pattern.
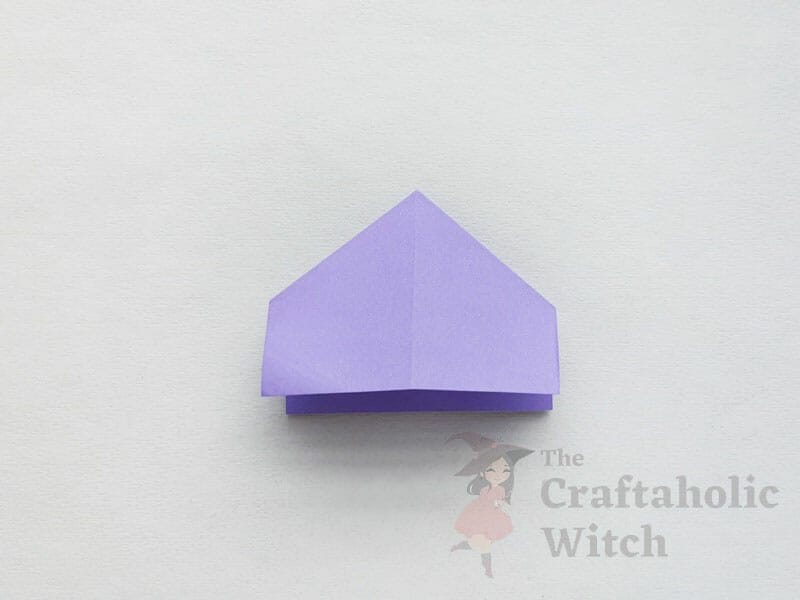
Step 6: Bottom Crease
Fold the bottom square part in half by folding it upwards. Unfold to create the crease.
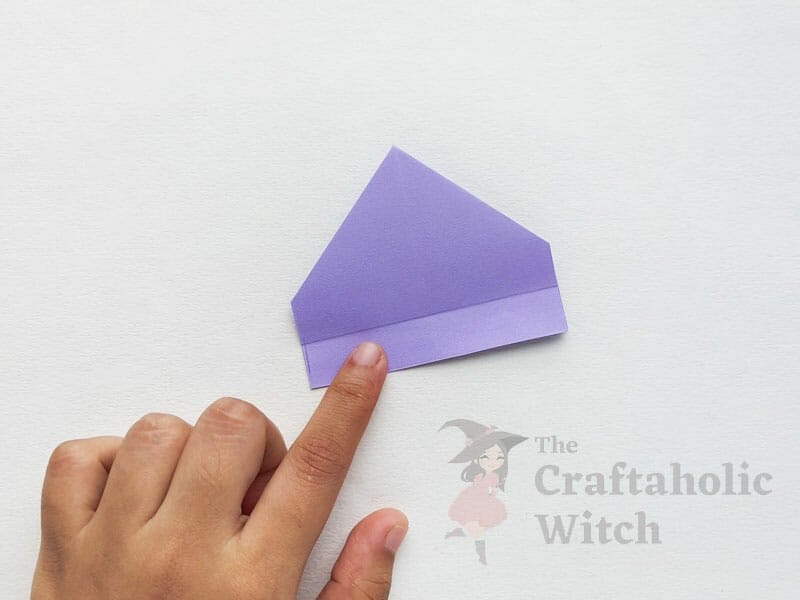
Step 7: Fold Bottom Side Inwards
Fold the bottom side inwards by making a fold along the crease created in the previous step. Similarly, fold the bottom side of the other side inwards.

Step 8: Flip Sides and Rotate Pattern
Now, flip the layers (flaps) of the current pattern and then rotate the pointy edge facing down.
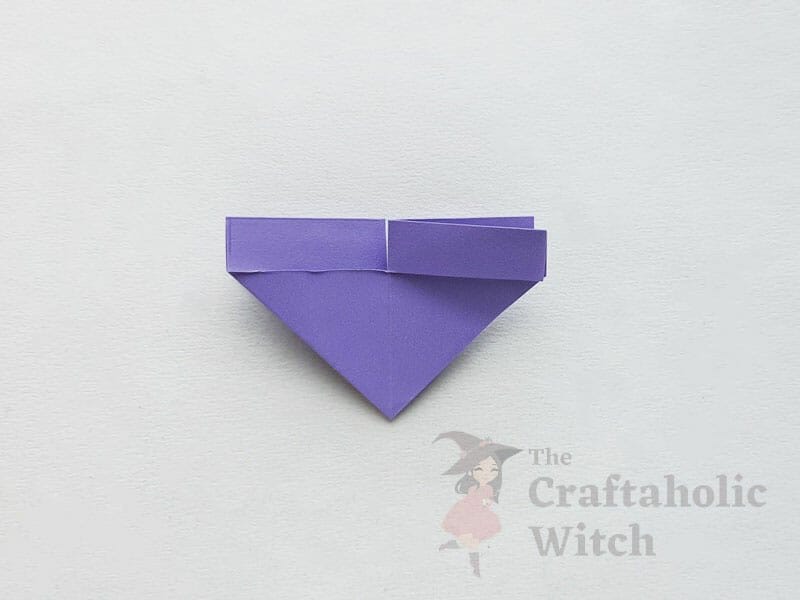
Step 9: Fold Inner Corners
Fold the inner corners of the top parts to 45 degrees. Fold the corners of both left and right side (inner corners).
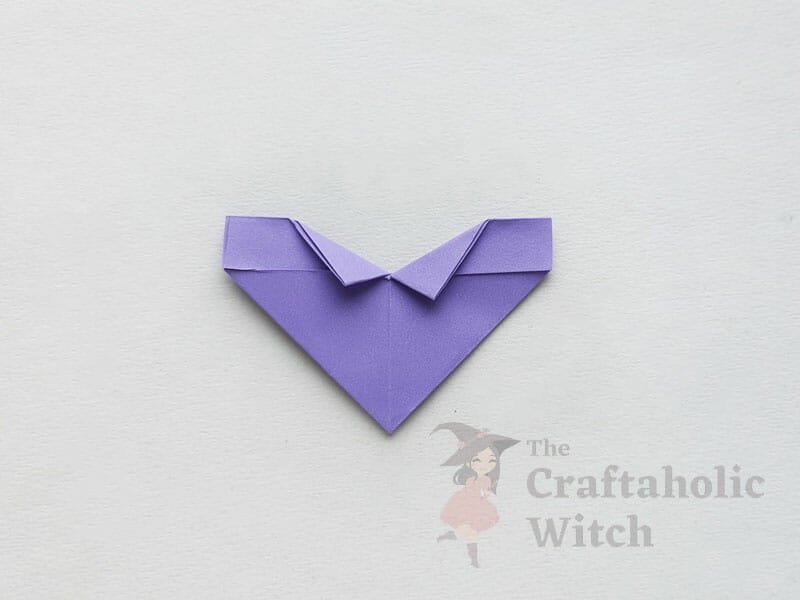
Step 10: Open Top End (Right Side)
Now, carefully open the pattern on the right side and try to adjust a folding line along the 45 degree crease created in the previous step.
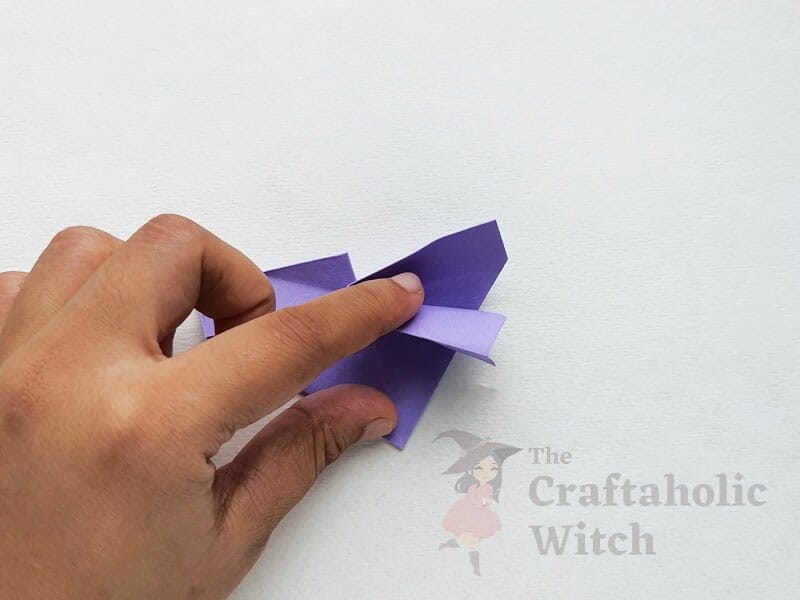
Step 11: Flatten the Right Side
Once you've adjusted the folding line, flatten the top-small part of the pattern with the bottom part. The right-wing of the origami butterfly is ready.
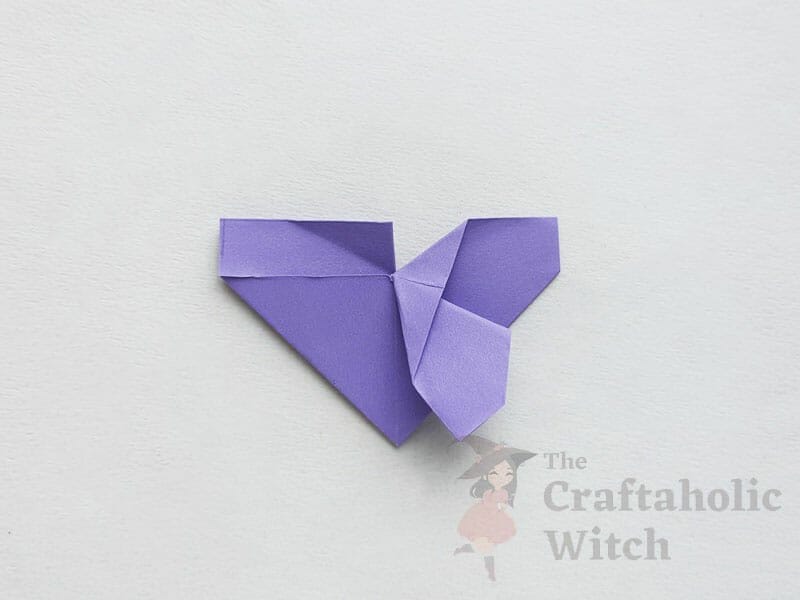
Step 12: Open, Fold and Flatten Left Side
Similarly, prepare the left side of the pattern to complete the left wing of the paper butterfly.
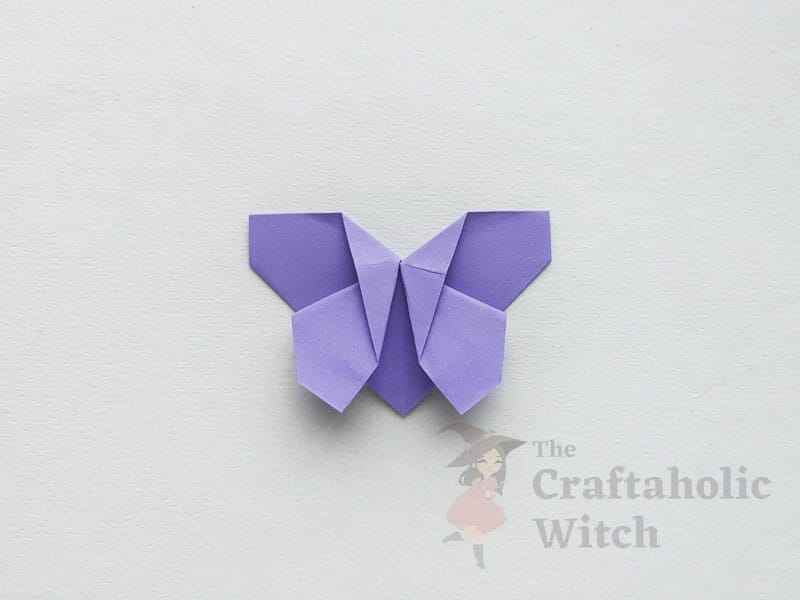
Step 13: Draw Patterns on Wings
Use a sharpie or highlighter pen to decorate the origami butterfly pattern. We're using a matching highlighter to draw the wing patterns. We also attached 2 small strips on the top side of the origami pattern, between the wings; the strips are the antennas of the origami butterfly.
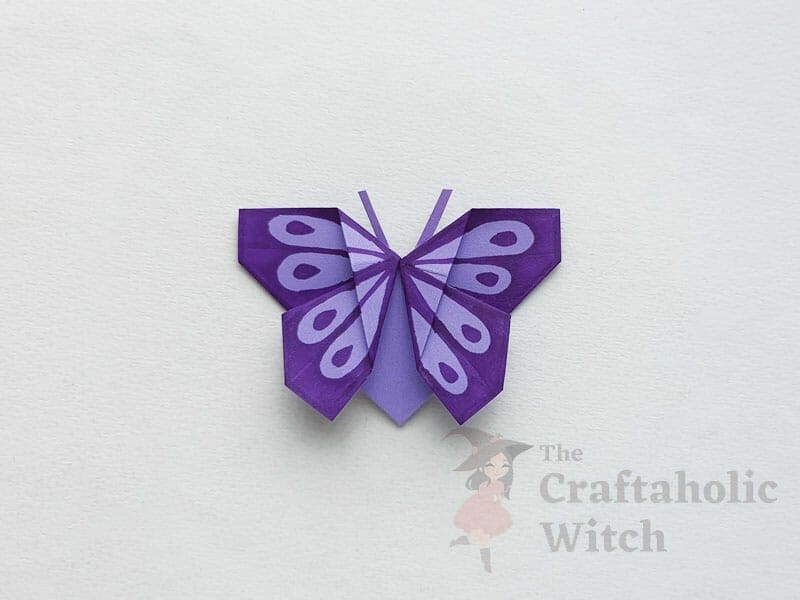
And the origami butterfly is ready! You can use it as a corner bookmark, as props, as wall decor, to decorate gift boxes, for scrapbooking, and so on!
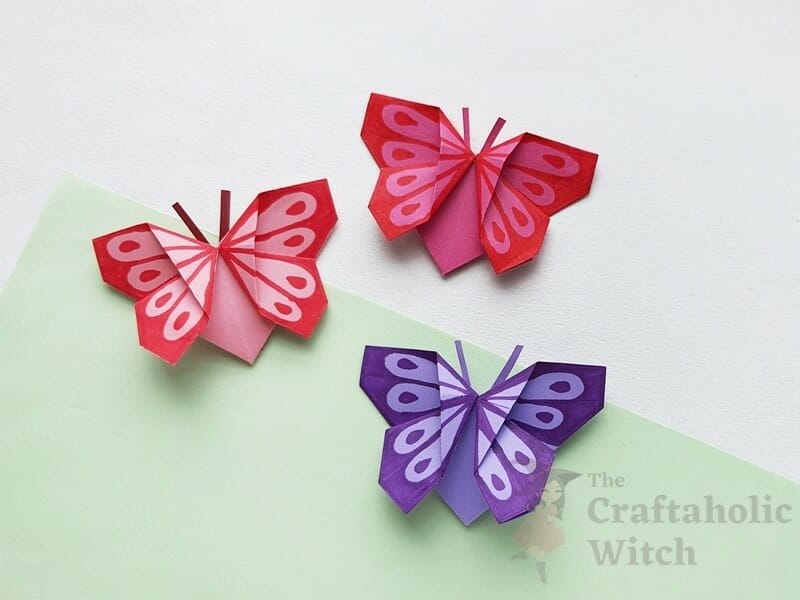
Watch Video Tutorial: How to Make Origami Butterfly
Having difficulty understanding the picture tutorial? No worries, you can also check out our video tutorial on how to make origami paper butterflies. Don't forget to hit the subscribe button and turn on the notification bell to stay updated.
Origami Butterfly: Tips for Beginners
Here are some tips if you're having difficulty crafting origami paper butterflies.
- Make sure to use rectangle-shaped paper for the butterfly craft. Keep the paper ratio around 4:2.5
- The initial base folds need to be done neatly.
- Making neat folds is the key to making the perfect origami craft.
- When decorating the butterfly with the highlighter, make sure to keep it on a piece of paper to keep your workspace safe and clean.
Here are some of our origami craft tutorials that you may also like.
- How to Fold Origami Maple Leaf
- How to Make Origami Bat
- How to Make Origami Leaves
- How to Make Origami Lotus
Origami crafts are great for building and developing children's motor skills and it is also great for adults looking for therapeutic craft sessions. We hope you like our origami butterfly tutorial and enjoy crafting some yourself. If you do re-create our origami butterfly, make sure to tag us on Facebook or Instagram (use #thecraftaholicwitch) and show us how you're using or decorating the origami butterfly crafts.
Happy Crafting!
Thank You
A Crazy Craft Addict! Love swirls, colors, shapes and of course to learn and share craft ideas
How to Make an Origami Butterfly for Beginners
Source: https://www.thecraftaholicwitch.com/origami-butterfly/
0 Response to "How to Make an Origami Butterfly for Beginners"
Post a Comment